Moadra Combat Guide: Aim, Space & Safe Practice
Build a practical Moadra combat routine with movement, aiming and healing checks. Suggested tactics are separated from verified game mechanics.
What should you learn before optimizing damage?
A useful practice attempt has one goal: keep distance, place aimed shots, or identify when you can safely use a skill. Trying all three at once makes it hard to tell what went wrong. Use a familiar room and one opponent when possible.
Check the current aiming settings first. A problem caused by an unfamiliar lock-on mode will not be fixed by changing your upgrade choices.
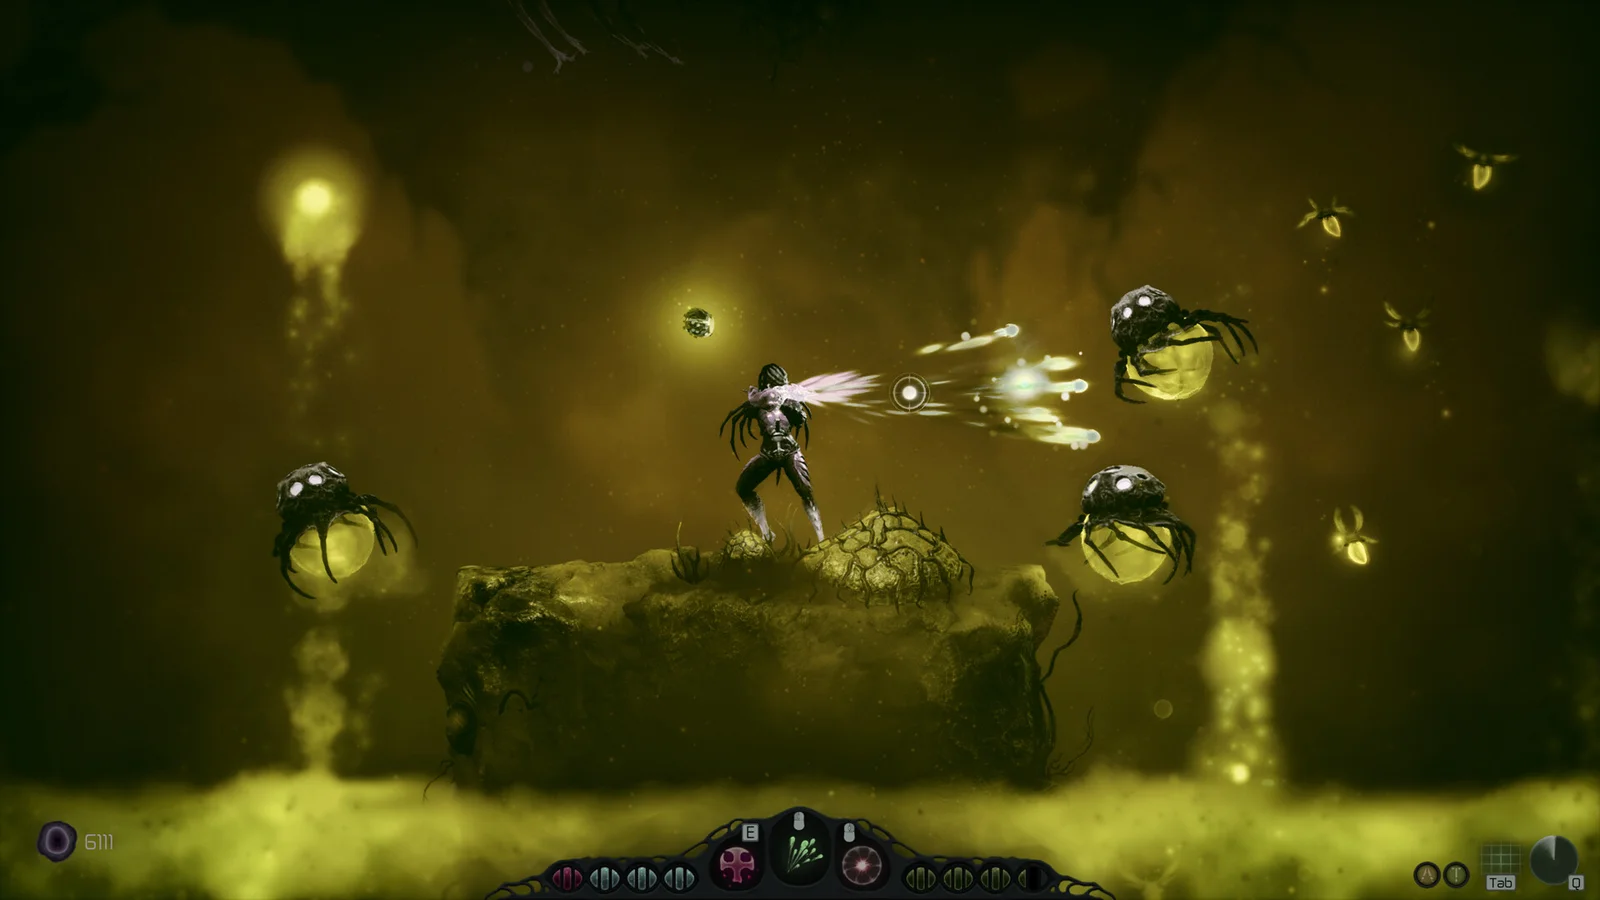
How can you review a failed attempt?
Write down the event that caused the most trouble: losing your footing, aiming away from the target, or reaching for a resource you did not have. Pick one response for the next attempt. Do not assume an attack can be dodged through until your current build demonstrates that interaction.
The official description emphasizes Moadra’s mobility, weapons and special abilities. It does not provide frame counts, damage formulas or a universal dodge window. This guide therefore recommends observation and repeatable tests instead of numerical timing claims.
What should you check before a harder encounter?
- Confirm how many healing charges you currently have.
- Rest at an Evolve Chamber when one is available.
- Read the tooltip of the weapon or ability you plan to use.
- After changing bindings, verify them before entering combat.
For the Demo boss, continue to Alvus preparation. If a barrier stops exploration rather than combat, consult scanning and obstacles.
Is the problem aim, armor or the target body part?
Before changing upgrades, read the enemy weakness table. Dune Stinger’s scan names an abdomen exposed during lunges; Shield Crawler discourages standard blaster fire; Wall Surger’s resistance does not automatically inherit Wall Hopper’s separate concussive clue. Those differences change what you should observe next.
For an enemy shield, compare Protopulse and Protocannon rather than treating all special attacks as identical. For environmental exposure, Umbral Armor’s menu describes a different set of effects. Match one specific failure to one source-backed test.
Sources and scope
Mobility and combat systems: official game description. Resource and chamber wording: installed Demo text. The practice routine is editorial advice, not a claim of a tested speedrun or no-hit strategy.
Related Articles
enemies
Acid Crawler: Acid Spores & Blaster-Grade Protection
Acid Crawler dossier: acid spores & blaster-grade protection, documented behavior, acquisition clues and linked original game-file evidence.
enemies
Armored Sporecaster: Airborne Underside & Corrosive Barrage
Armored Sporecaster dossier: airborne underside & corrosive barrage, documented behavior, acquisition clues and linked original game-file evidence.
enemies
Bilemound: Spore Barrage & Exterior Defense
Bilemound dossier: spore barrage & exterior defense, documented behavior, acquisition clues and linked original game-file evidence.
Was this helpful?
Thanks for the feedback!